
Why every creator needs to know how to add captions on TikTok
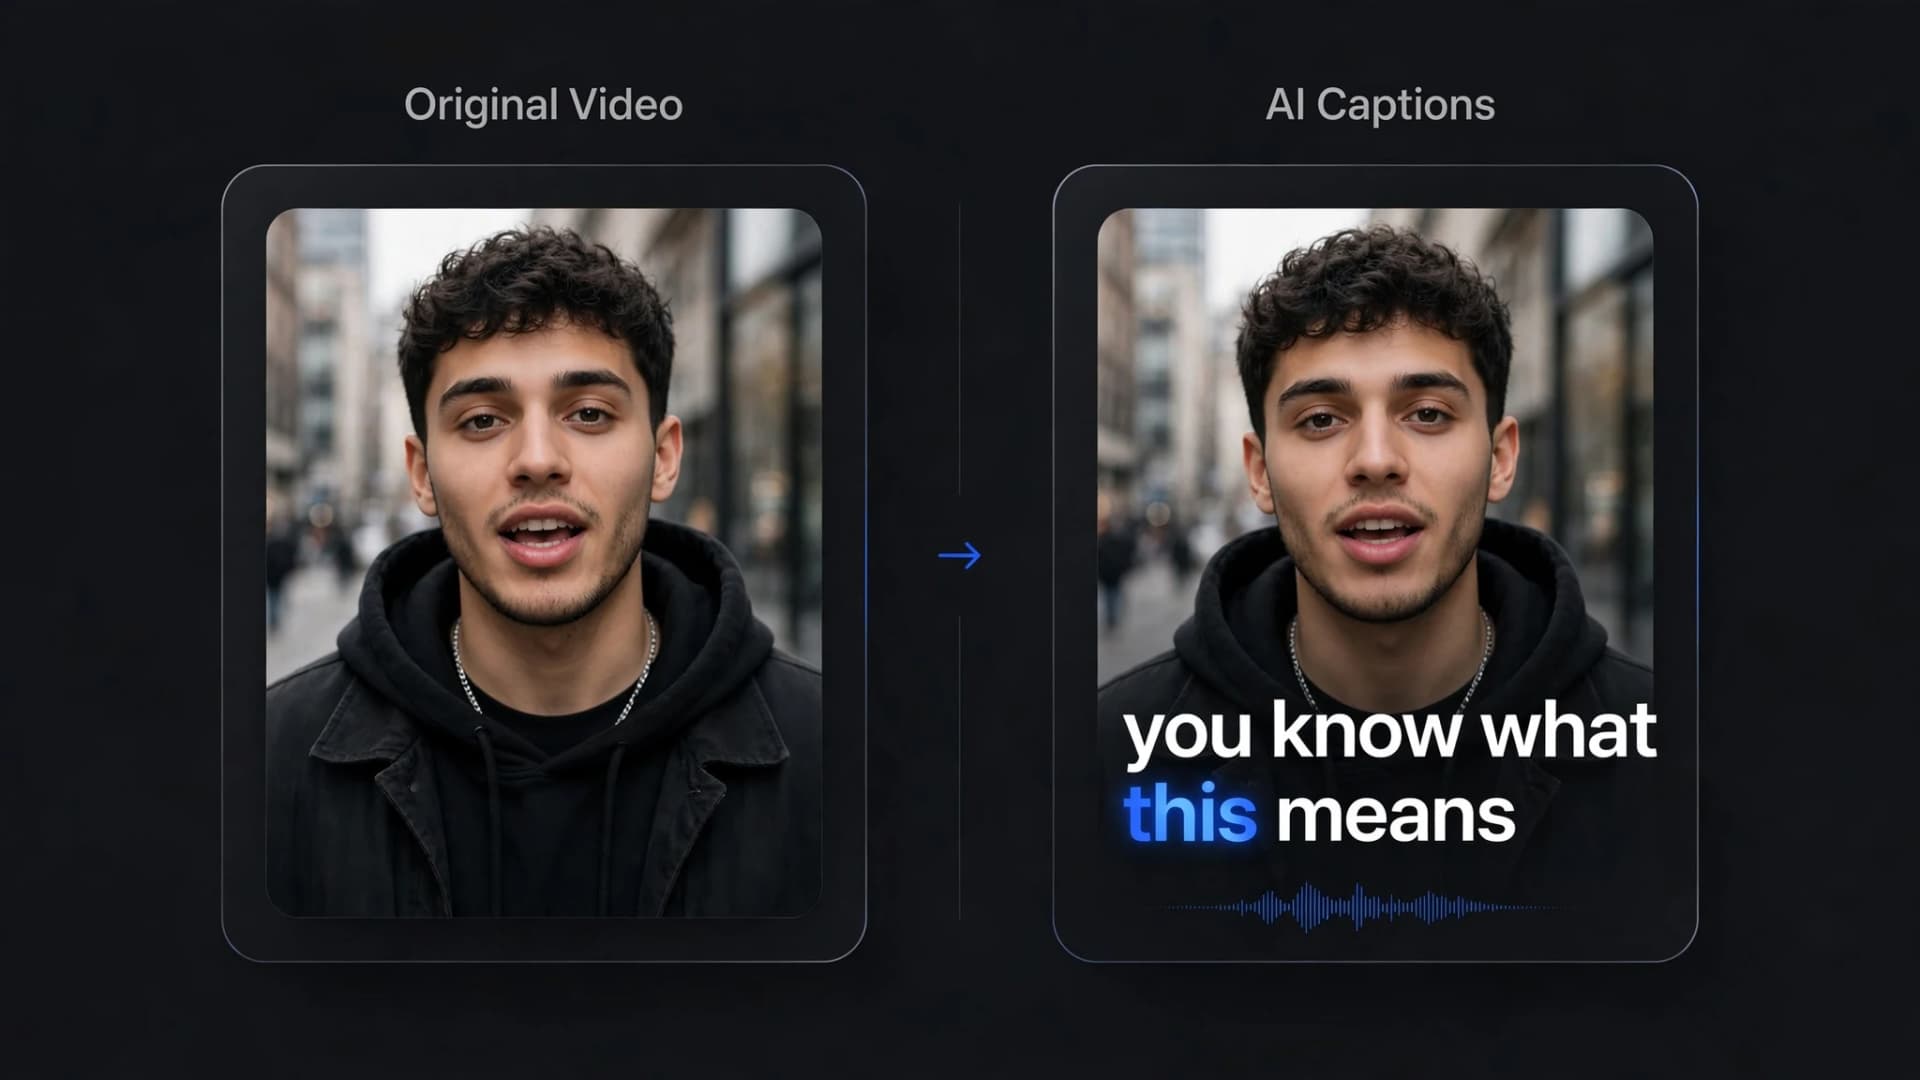
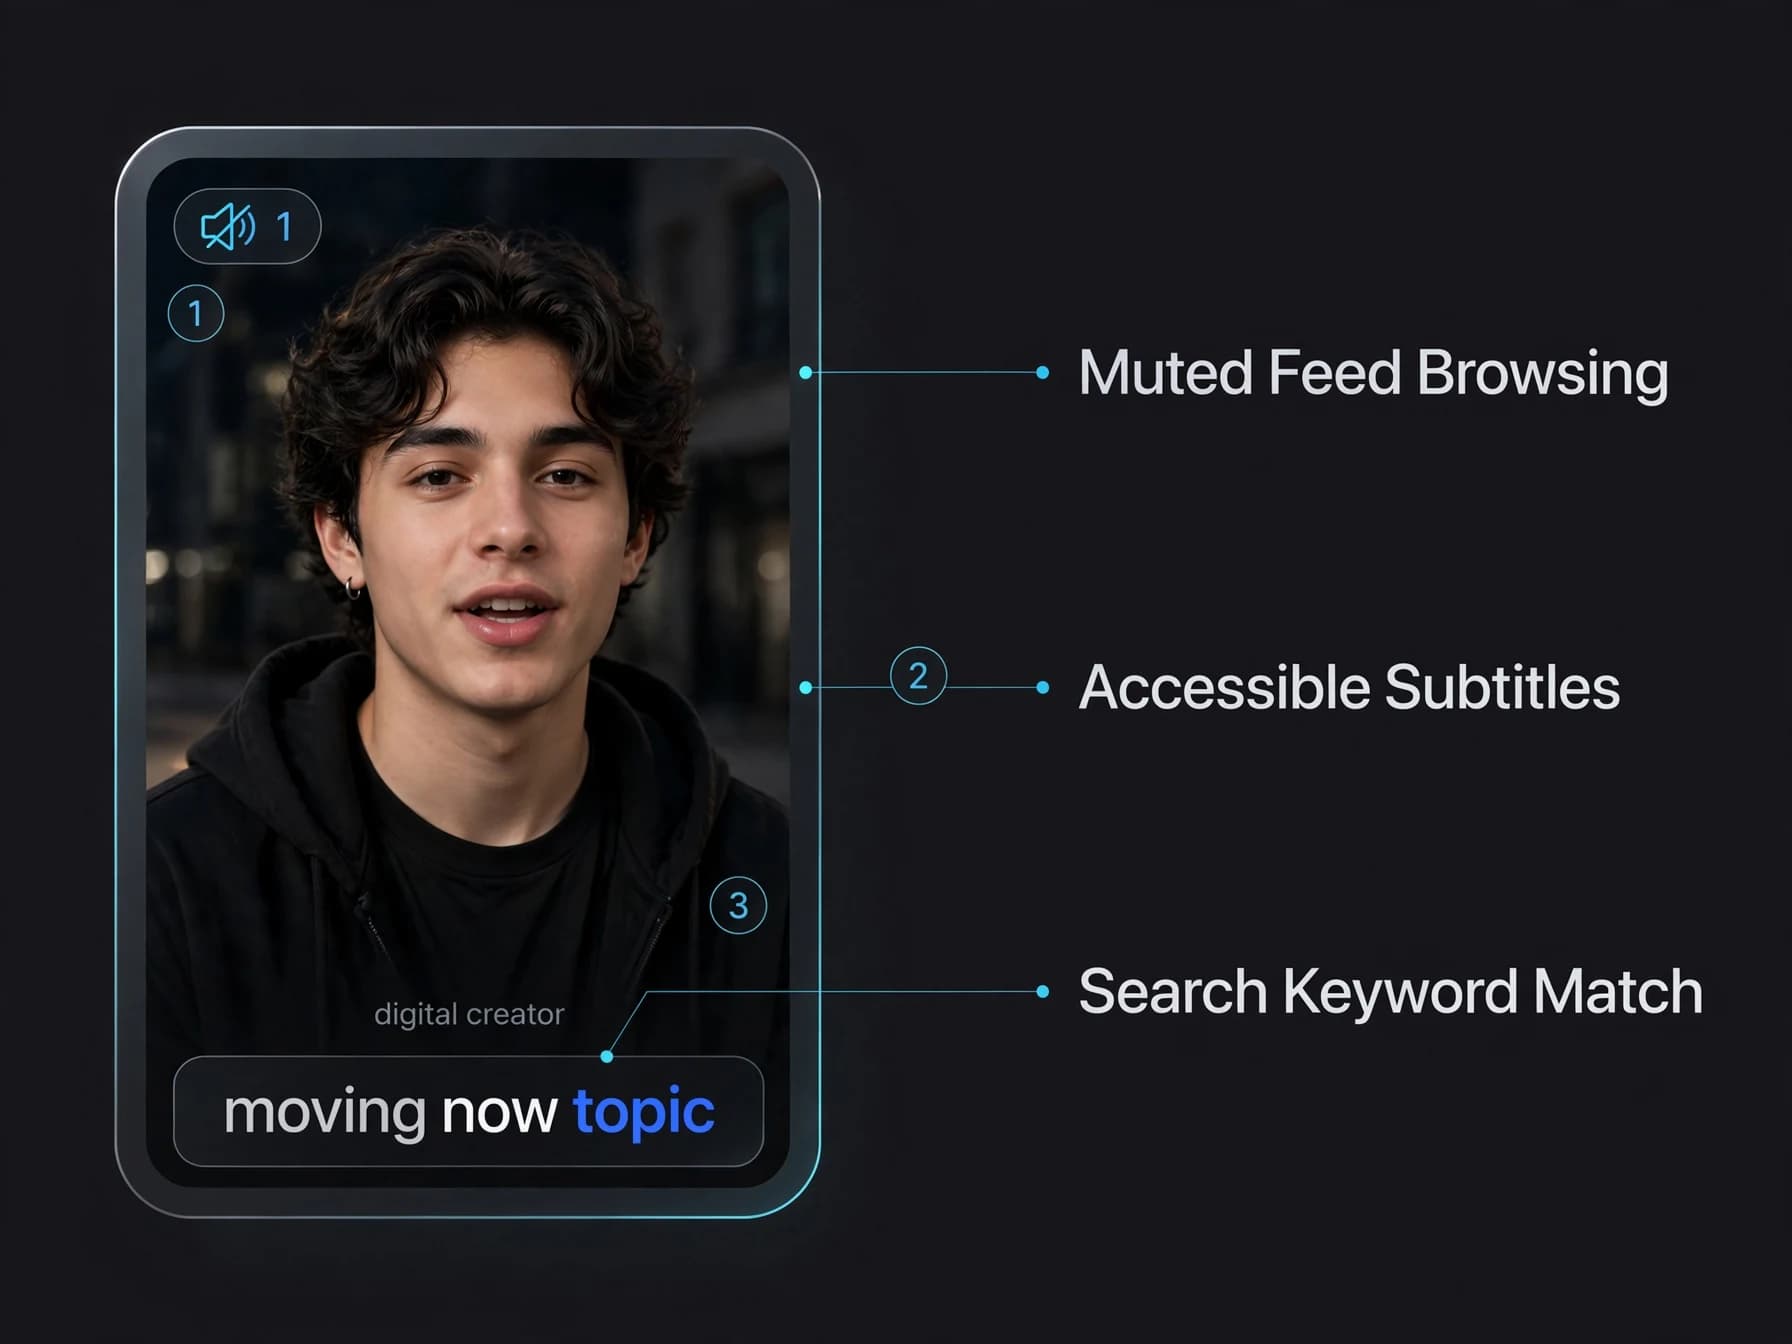
On-screen subtitles help stop viewers from scrolling past your upload. A large portion of social media audiences browse their feeds in public, during commutes, or late at night with sound turned off completely. Adding on-screen subtitles makes sure your story, punchline, or tutorial still connects when volume is muted.
Accessibility is another huge reason to add captions to TikTok uploads without delay. Viewers who are deaf or hard of hearing rely on readable text to participate in trends and follow your spoken ideas. If you use the best AI video generator for TikTok to produce your clips, pairing the visuals with clear subtitles also assists non-native language speakers who process written words faster than rapid conversational speech.
Captions also give TikTok's search more text to read, which can help it understand what your clip is about. They matter most on faceless channels, where the voiceover carries the story; our guide on how to make faceless AI videos shows how captions fit that format.
Step-by-step guide: how to turn on captions on TikTok
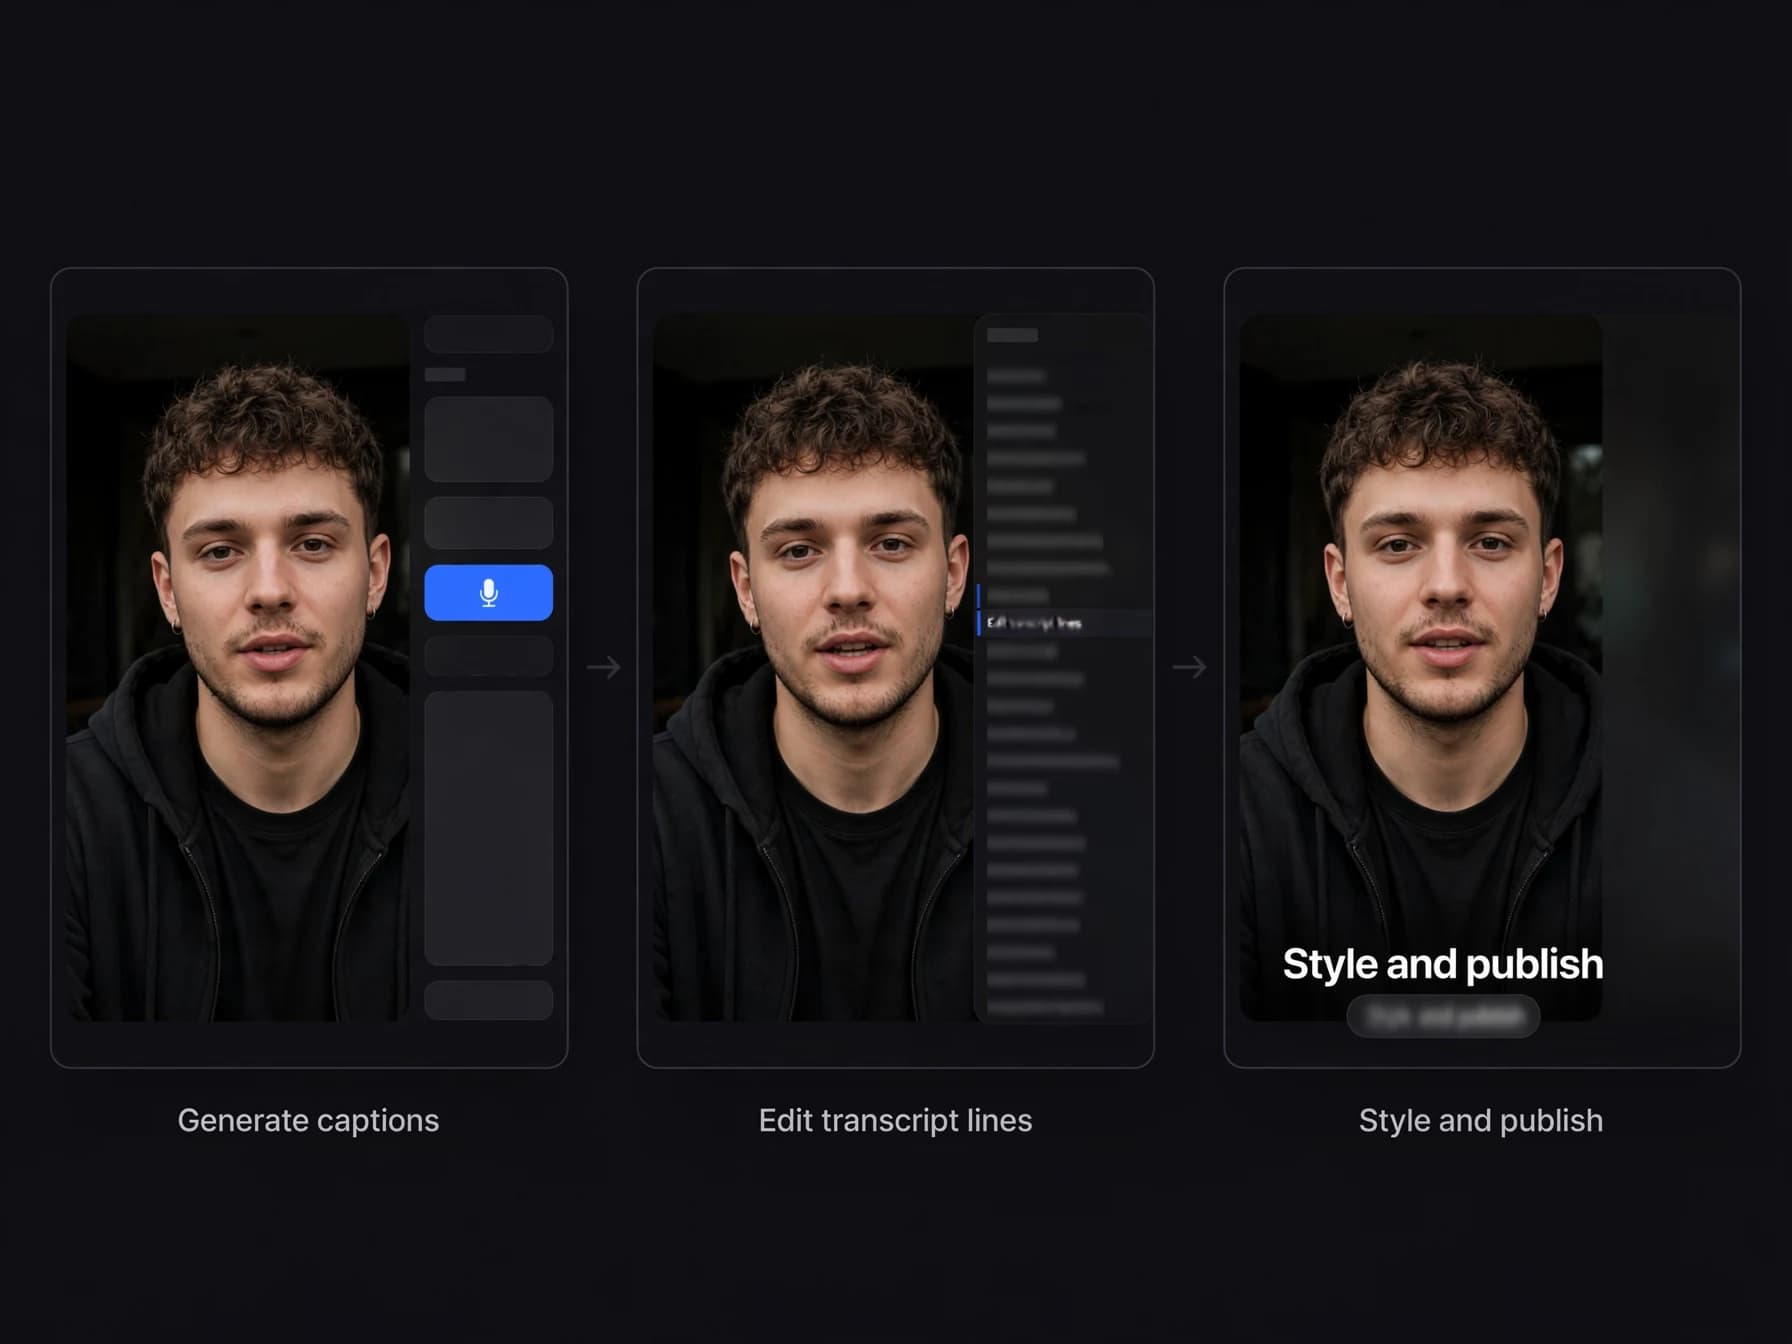
Step 1: Open the mobile app, tap the center plus button, record or select your footage,
Step 2: Once the app creates the subtitles automatically, review each line by tapping th
Step 3: Choose your preferred text alignment, font, and background box, then tap the sav
How to get captions on TikTok using manual text tools
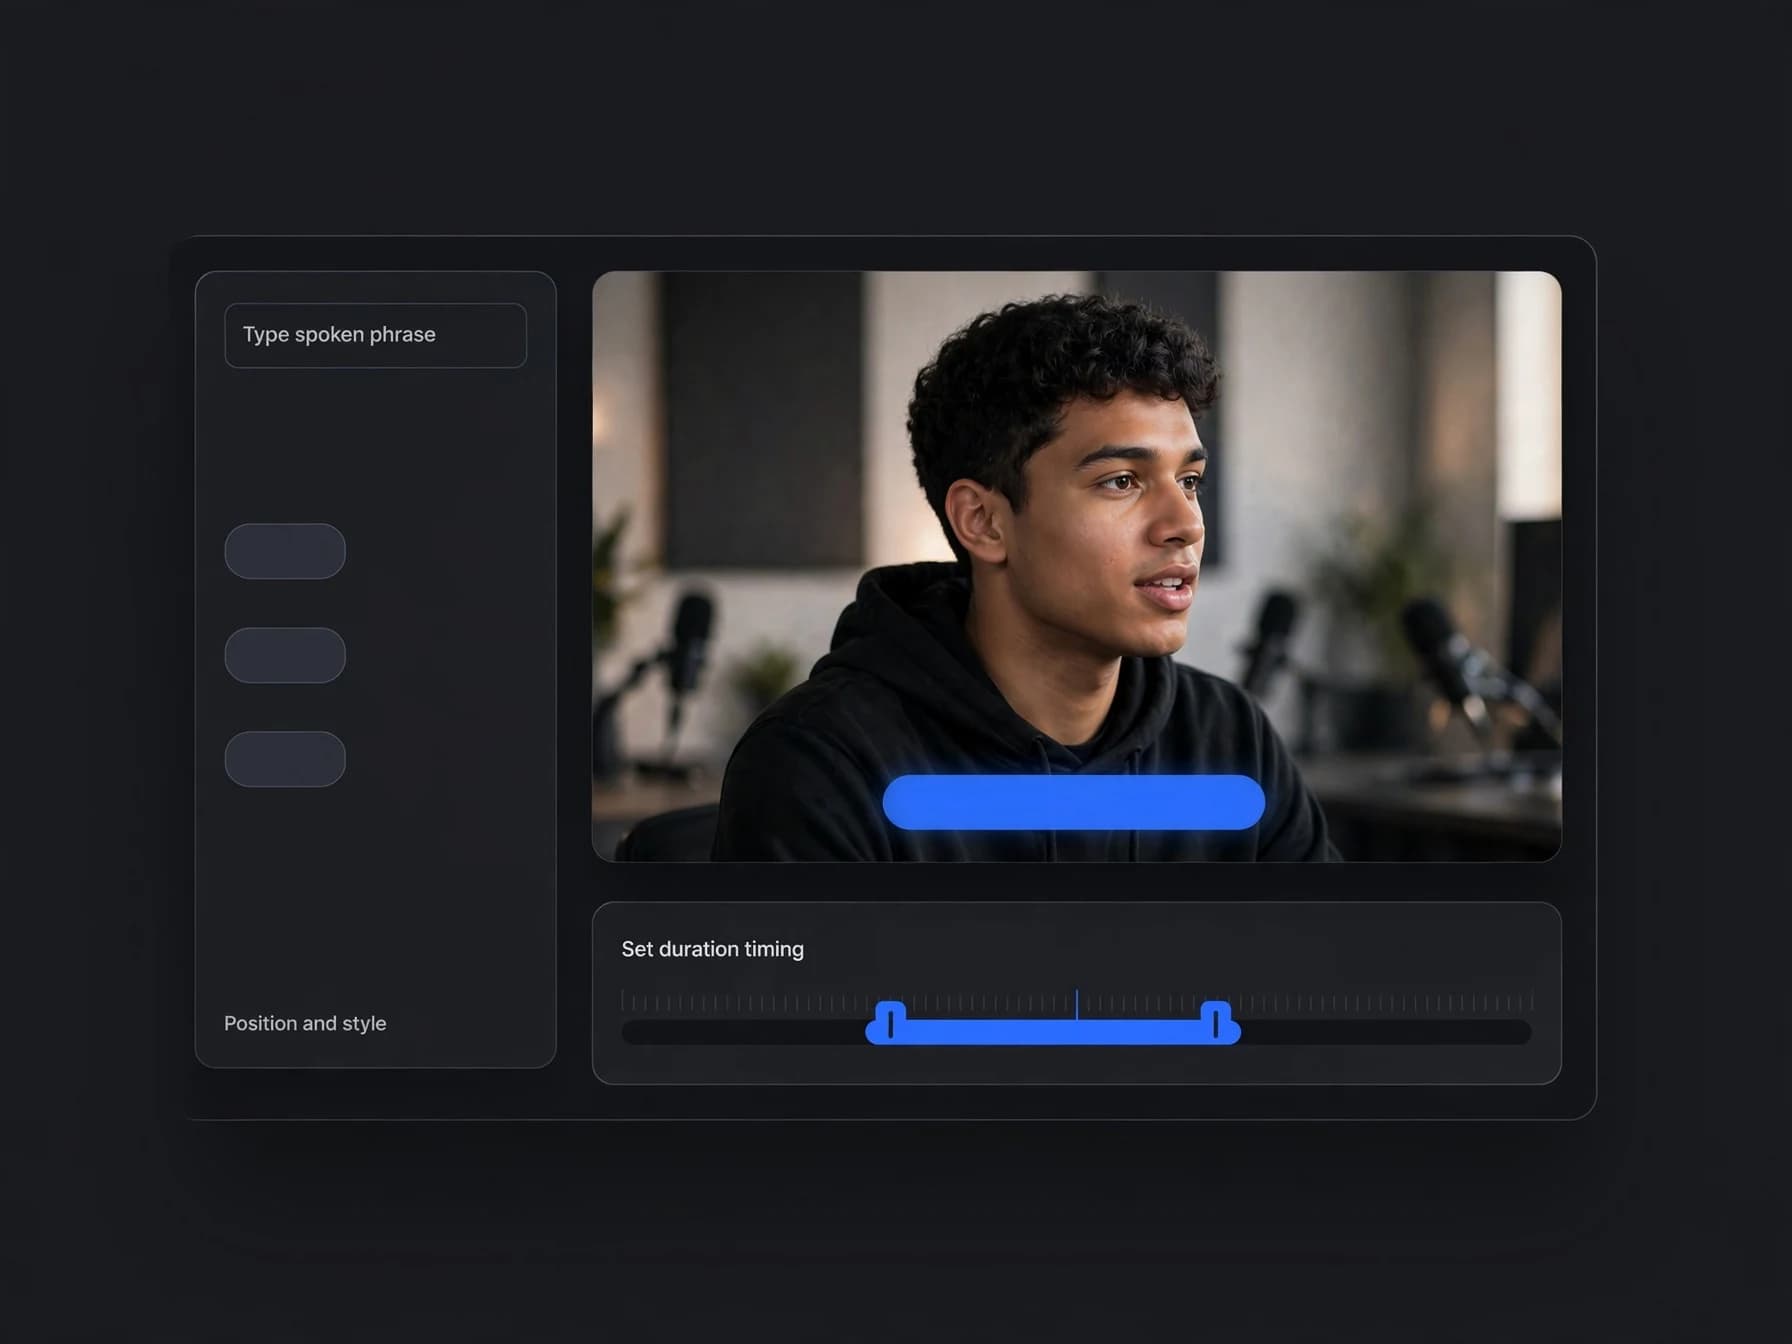
Creators often ask how to get captions on TikTok when background music confuses the built-in speech recognition tool. The manual text tool lets you type out key dialogue phrases, lyric highlights, or secondary punchlines directly over the footage. This approach gives you absolute control over exact font colors, screen placement, and duration timing.
To place manual text overlays, tap the text button on the right editing bar after trimming your raw clip. Type your spoken sentence, select an accent color that stands out against your background, and position the box away from the right-side profile buttons. Setting duration ensures each title disappears as the next spoken thought begins.
Manual subtitles excel for short skits, quick jokes, or sound bites where you only need three or four impactful words on screen. If you want a broader look at timeline placement across editing apps, check out our guide to adding subtitles to videos. While transcribing an entire two-minute speech manually takes patience, styling short phrases manually delivers a punchy aesthetic that fits fast-paced visual comedy.
How to add captions to TikTok video with AI before you upload
Many editors prefer finishing their subtitles before launching the mobile app to ensure polished, consistent branding. Preparing your subtitles before upload lets you burn dynamic animated words straight into your video export. Third-party web tools let you generate subtitles on a laptop keyboard rather than typing on a small phone screen.
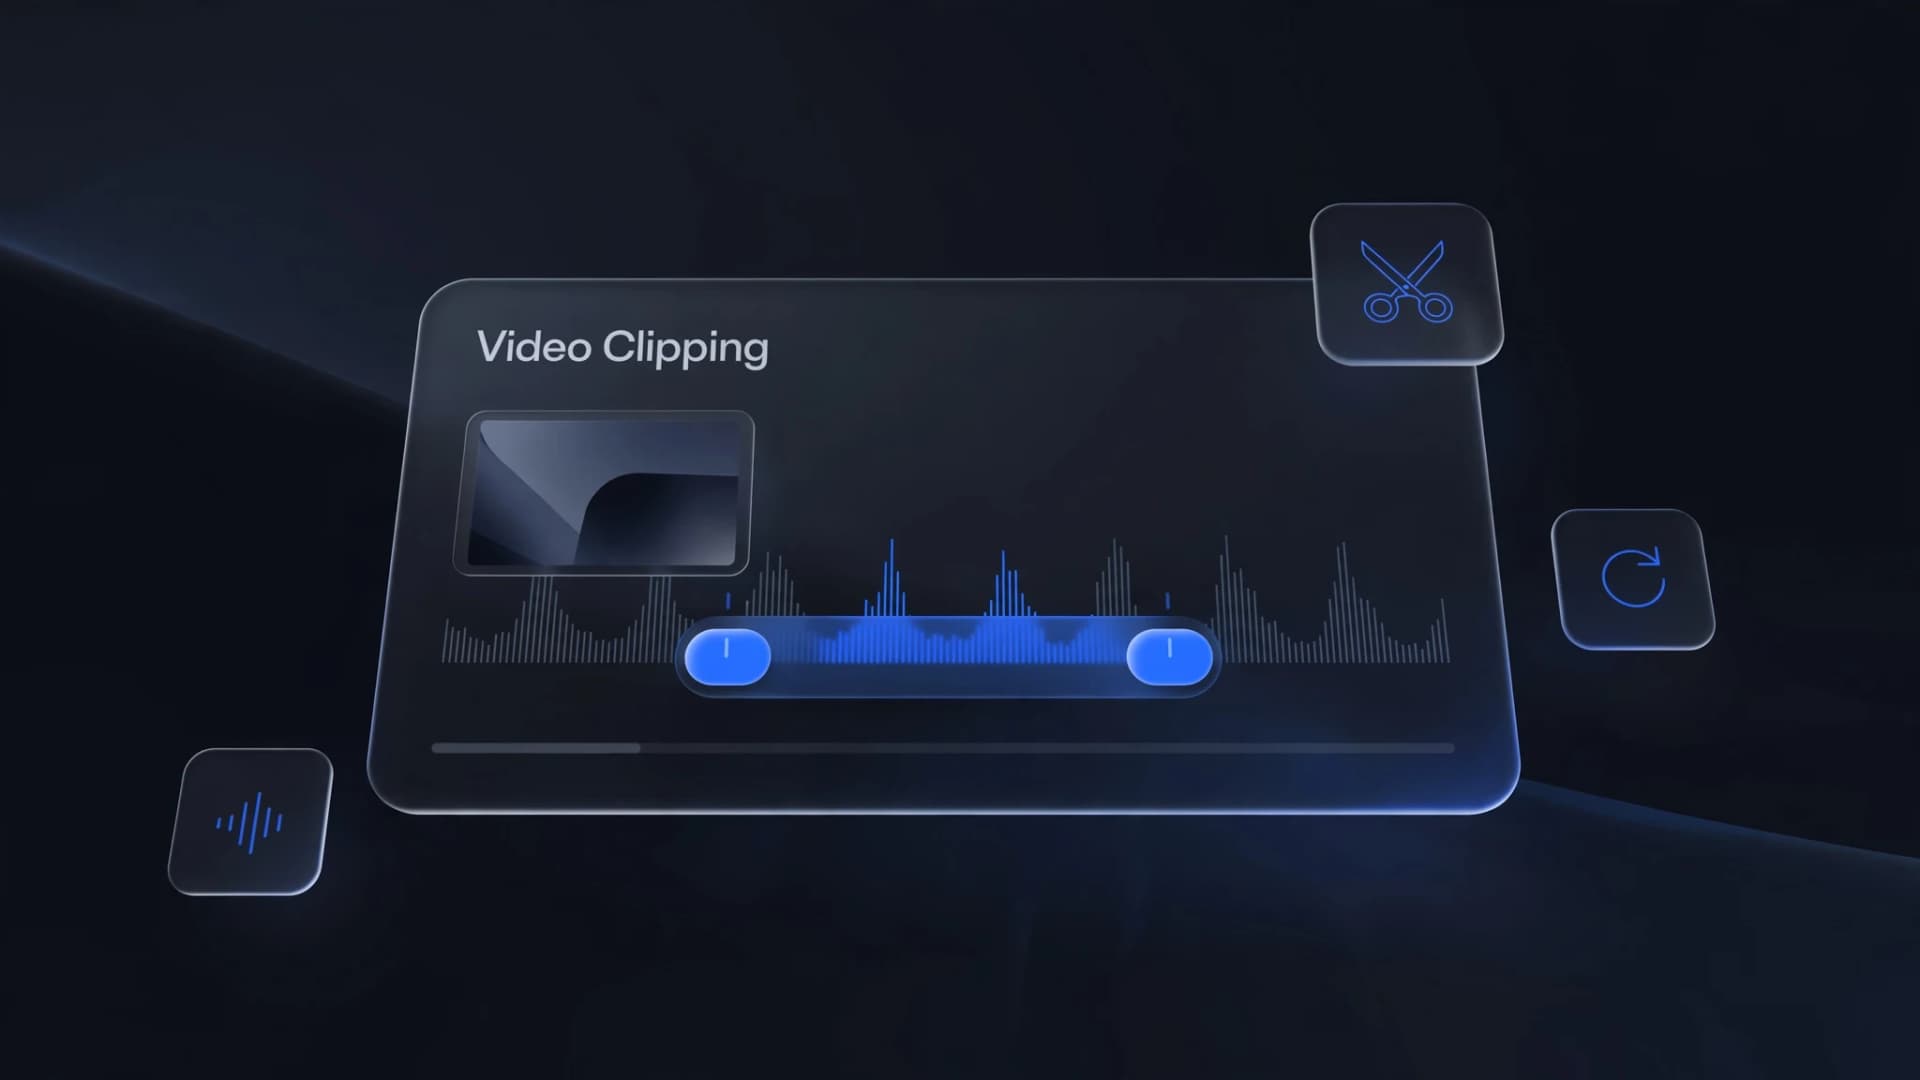
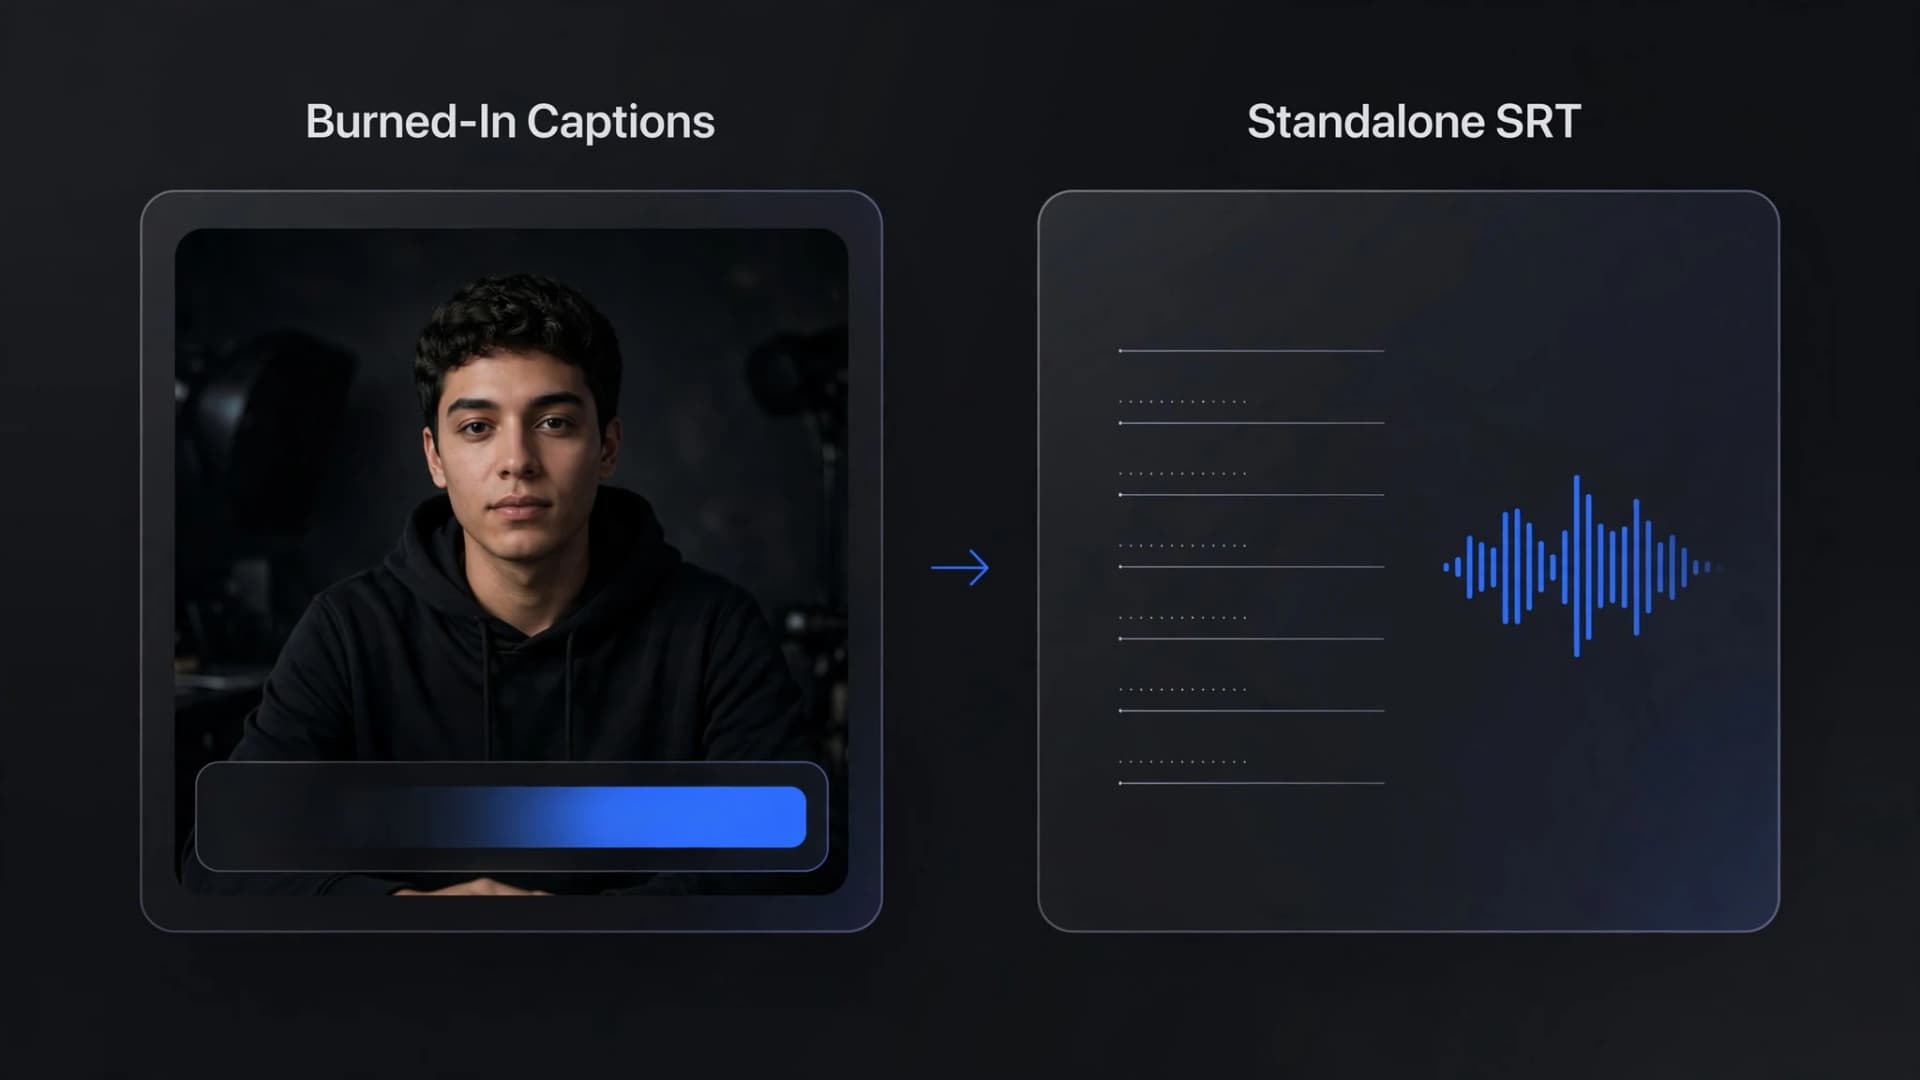
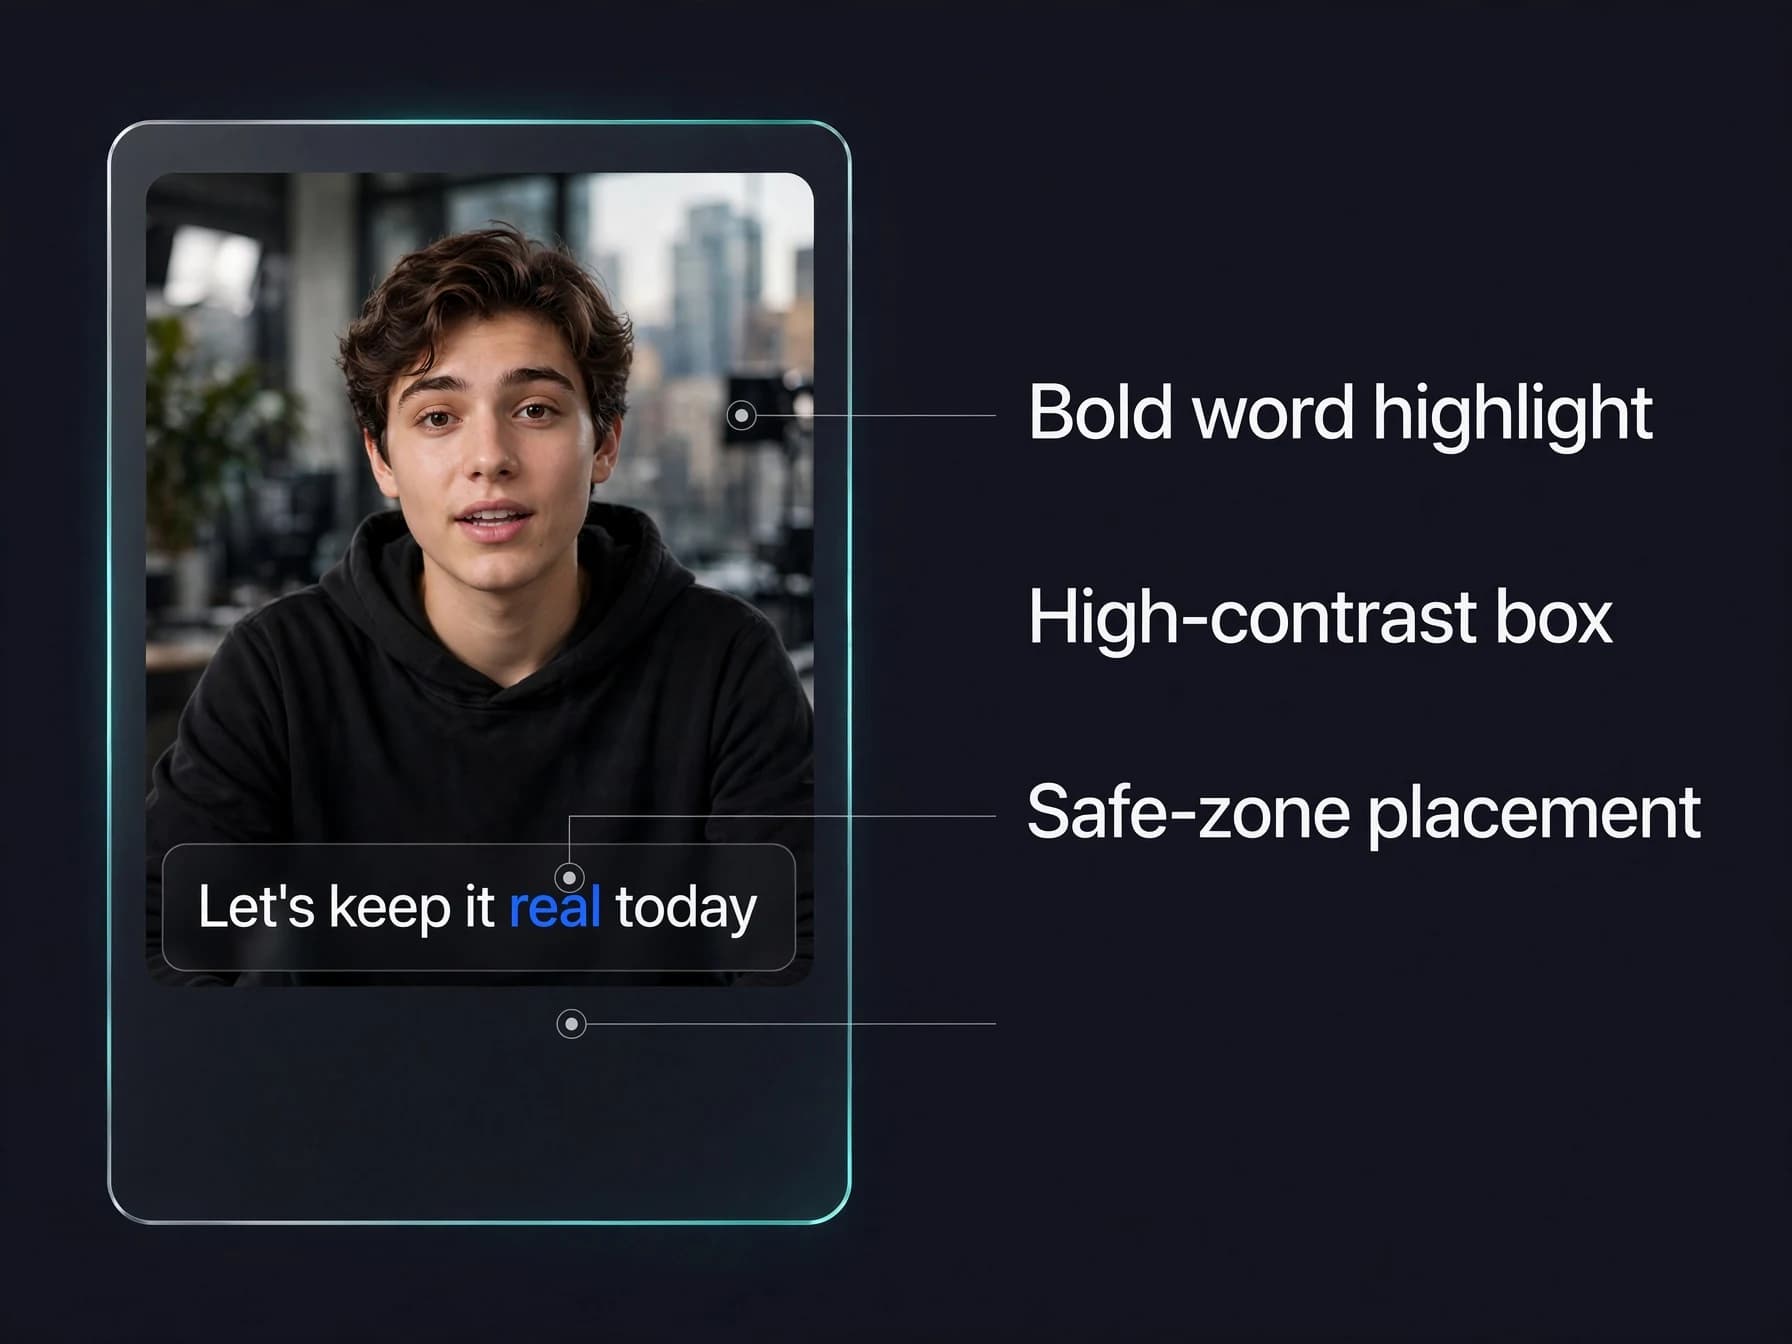
If you make AI clips or pre-recorded tutorials, the AI caption generator in OnVid's AI video studio transcribes the speech in a 5 to 120 second clip and offers Bold (a TikTok-style word highlight), Clean, Boxed and Pop styles at the bottom, middle or top. You can edit every transcribed line before you pay, translate the captions into 35 languages, and download the MP4 with burned-in captions plus SRT and VTT files. Captions are on the Pro and Max plans at 3 credits per second. For a full voice dub instead of subtitles, use the AI video translator, and to layer in music or effects first, try the sound effects and music tool.
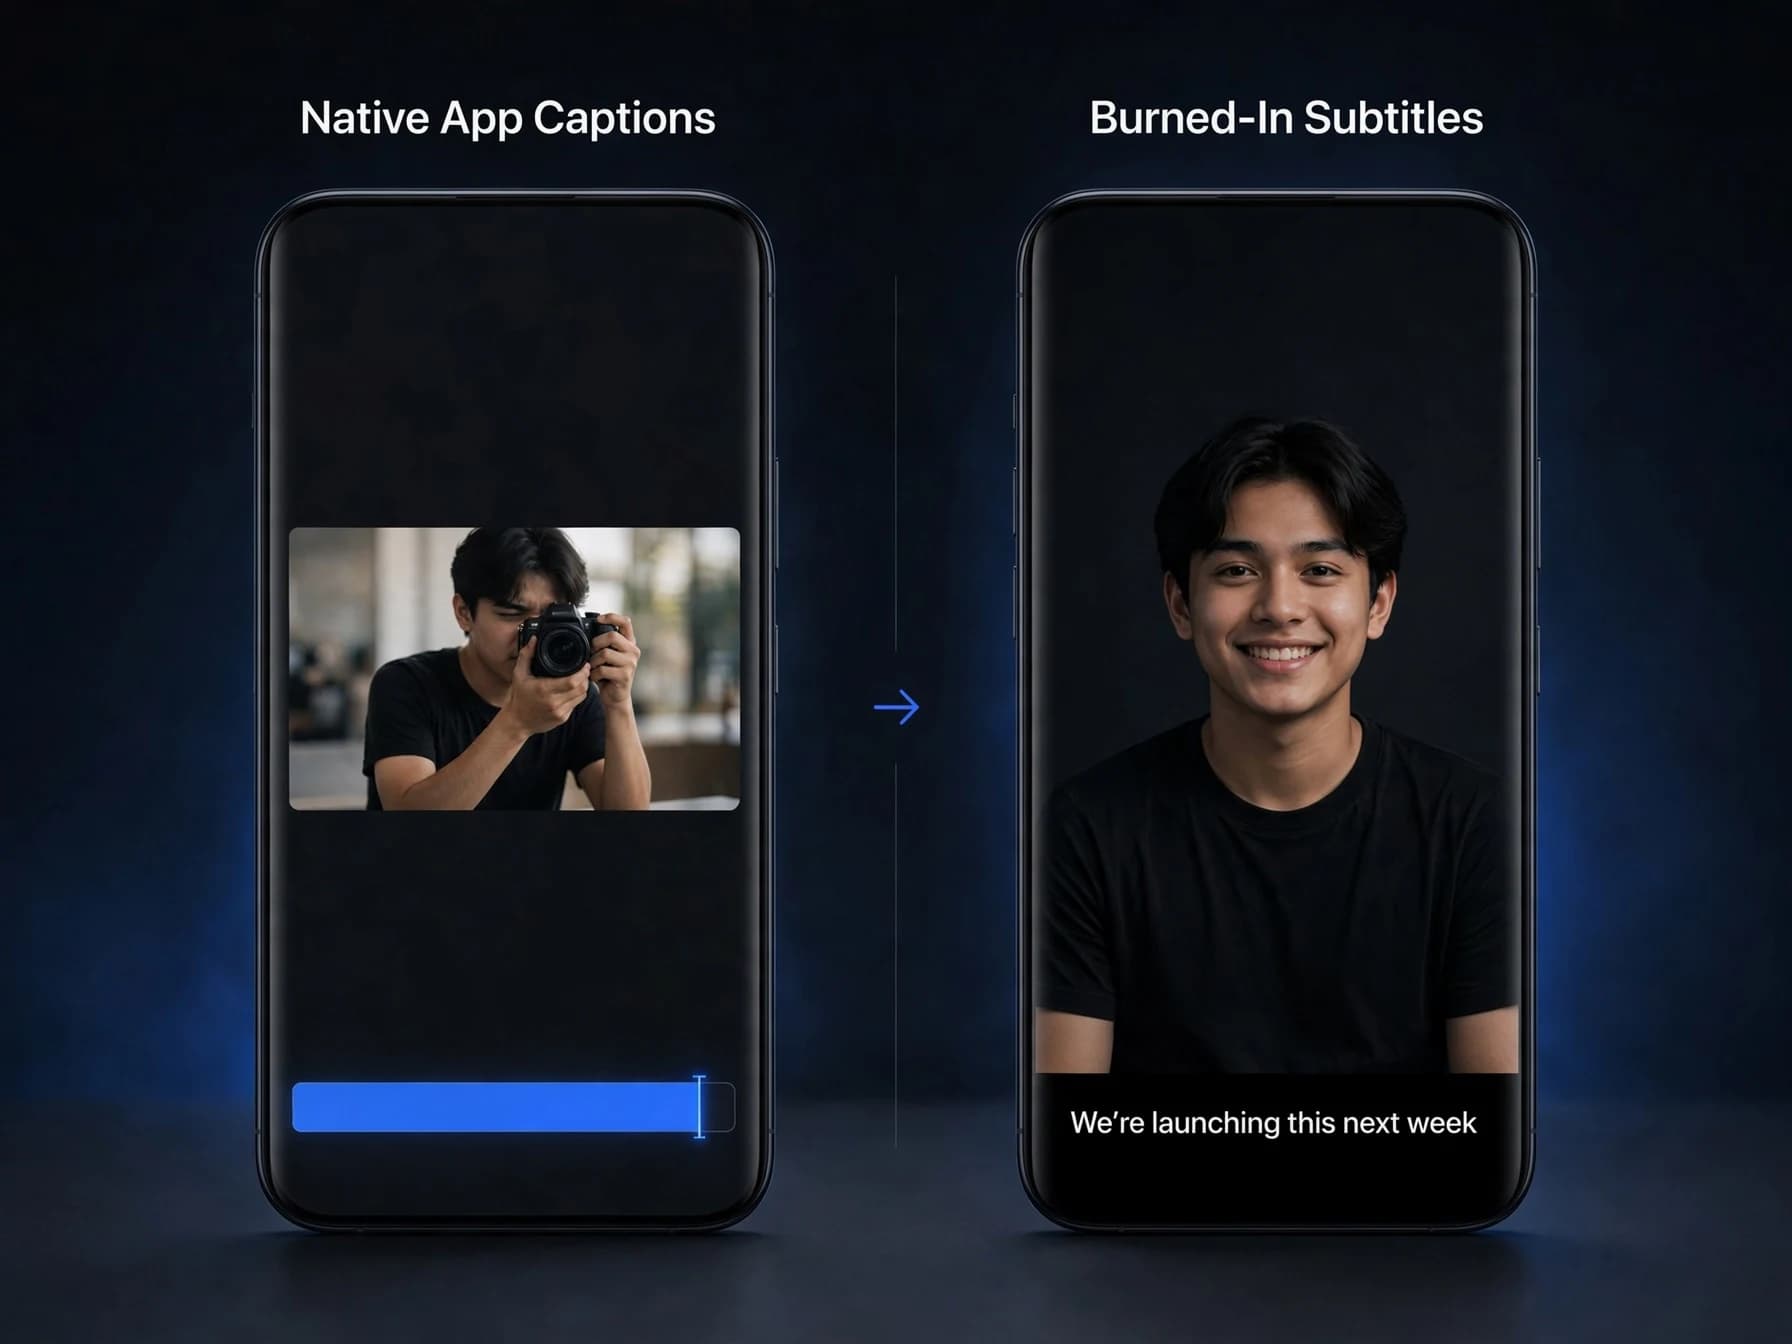
Pre-rendered open captions ensure your subtitle styling stays identical across every social platform without relying on platform-specific viewer settings. This workflow prevents sudden app layout changes from shifting your text behind native interface icons or user comment overlays.
Can you edit subtitles after posting your AI video?
A common dilemma creators encounter is noticing a glaring typo in their on-screen dialogue right after tapping publish. TikTok's options for editing a live post are limited and change from time to time, but subtitles burned into the video itself cannot be altered once it is uploaded.
If you catch a serious mistake in burned-in subtitles, the cleanest resolution is saving the master file, fixing the typo in your editor, and re-uploading the clip. Leaving severe misspellings uncorrected can distract viewers from your core message and prompt confusing comments. Taking three minutes to verify accuracy before publishing protects your channel quality.
To avoid republishing headaches, build a quick preview habit into your production routine. Watch your finished draft entirely through with sound muted to confirm subtitle pacing, spelling, and contrast against moving backgrounds. A thirty-second check prevents having to delete and re-post your content later.
How to style on-screen captions so viewers actually read them
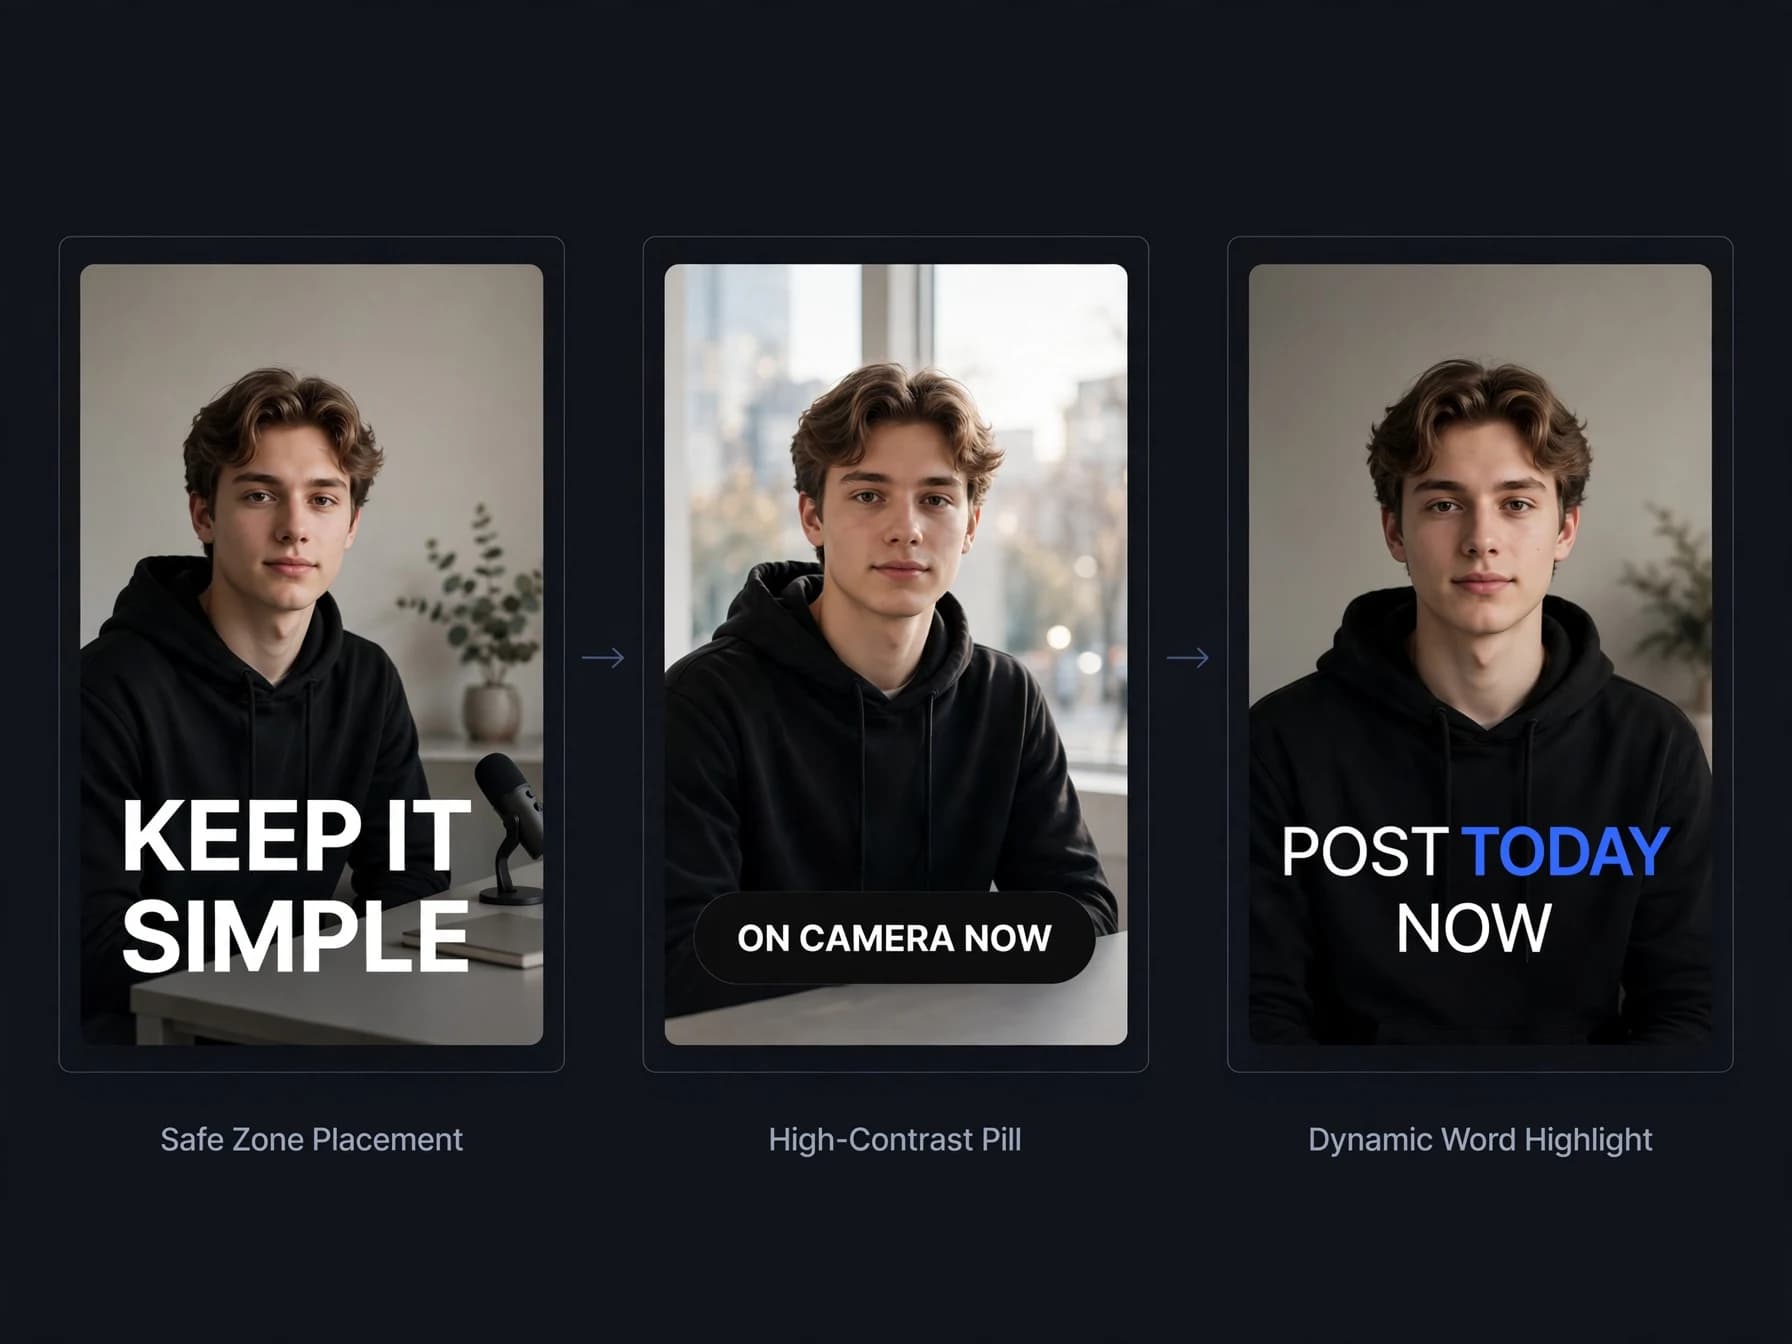
Making sure your subtitles are visually readable is just as important as generating the words correctly. Place text in the middle third of the vertical screen to avoid having letters covered by usernames at the bottom or icons on the right edge. Clean high-contrast typography ensures readability against both dark backgrounds and bright daylight scenes.
Use contrasting background boxes or solid drop shadows whenever your footage shifts between dark and light lighting conditions. Thin white fonts without outlines often disappear when an actor walks past a sunny window or bright wall. Adding a soft dark pill or semi-transparent outline keeps letter edges crisp throughout the entire clip.
Keep on-screen phrasing brief by presenting three to six words at a time rather than giant blocks of dialogue. Fast-paced visual captions match modern reading habits and maintain screen momentum without obscuring the person speaking. Consistent styling transforms basic accessibility text into a recognizable visual signature for your channel.